Categories
Building & renovations

How to paint kitchen cabinets

It might seem small, but well-painted kitchen cabinets can liven up your space and make your kitchen more enjoyable. Not only does it add colour and life to your home, but it’s also a budget-friendly DIY project. A kitchen cabinet painting project can also be fun for your family!

If you don’t know how to paint kitchen cabinets, don’t fret. It’s a simple project with a satisfying result that will invigorate your kitchen in no time.

Tools and materials you’ll need

Claiming you know how to paint laminate kitchen cupboards takes more than just a brush and some paint. Doing it properly takes a few tools to ensure your paint job is neat and beautiful.

  • Bucket
  • Primer
  • Paint for kitchen cupboards like oil-based paint, latex paint or acrylic enamel paint
  • Paint brushes and rollers
  • Screwdrivers and drills
  • Masking tape
  • Scrubbing materials like brushes and sandpaper
  • Wood filler
  • Putty knife
  • Soap
  • Protective gear like gloves and masks

While the methods aren’t necessarily difficult, the time it takes to complete this project depends on the number of kitchen cabinets you’re working with. Following our step-by-step guide can take you an entire weekend for a modestly-sized kitchen or a whole week if you have a massive kitchen to transform. If you can’t commit much time, consider hiring a professional.

The essential steps to painting your kitchen cupboards

Step 1: Prepare and clean the kitchen space

Before you start painting cabinets, you have to prep the space around them. If you plan to paint in the kitchen, this is especially important as you don’t want paint to bleed onto any other surface. Even if you’re painting outside, you still need to clean the surroundings to make sure you can manoeuvre the furniture in and out effortlessly.

Clear out the room and make sure there are no utensils and appliances in the way before you start your kitchen painting project.

Step 2: Remove the cupboard hardware

removing kitchen cabinet hardware
Remove the cabinet knobs and hinges before painting | Source: iStock

Use your screwdriver or a drill to detach the cabinet doors from where they’re attached. Find the hinges and make sure you take them out without damaging the surrounding area. This part is somewhat time-consuming, especially because you’ll need to disassemble the different cabinets as well.

Make sure you detach all the removable hardware, like knobs and hinges. You’ll also want to find screws holding drawers together and try to break them down into all their separate pieces to ensure full coverage when you paint your kitchen cabinets.

Step 3: Clean the cupboards

A crucial but severely overlooked step in this project is cleaning the cabinets to guarantee a smooth paint job. First, you must run through the hardware with a damp rag to get rid of any blemishes on the cabinets, whether from food or other dirt that can accumulate in your kitchen. You can also use dish soap to get rid of any stubborn stains and blemishes on the wood.

This step also prepares your wooden drawers for sanding, as any grease or dirt can be further pushed in when pressure is applied. While at it, you should also prepare the area you’ll use for painting. Lay down some brown builder’s paper on the floor to prevent mess.

Step 4: Repair scuffs with wood filler, then sand

Sanding the wood makes paint adhere better | Source: iStock

On older cabinet units, you’ll have small nicks, scratches and dings that can be hard to deal with when you start painting them. The best way to fix bigger blemishes is by using wood filler, a special material that can be applied with a putty knife to smoothen your cabinet’s surfaces.

Next, you’ll have to sand the cabinets. This prepares the surface and lets you apply the paint to achieve a smooth finish. Lightly sand all around the cabinet, especially in exposed areas like the cabinet door. This can be an arm workout, but it’s the only way to get an even cabinet surface after painting.

Step 5: Start priming

Painting without a primer is a big mistake. Primer improves paint adhesion and ensures a durable finish when you finish painting. Determine the kind of cabinet boxes you have, whether laminated or wood, before running to your paint store to get the right primer for your cabinet frames. Protect your cabinets using tape to protect the parts you want to stay paint-free.

Use long and even strokes when putting on the primer with a paintbrush or a paint roller. Apply it on every surface that will be painted, even the sides and the back. Every primer is different, so read the manufacturer’s instructions to know how long to dry the primer before moving on. 

A pro tip: If brush marks are evident after applying primer, use sandpaper to smooth it before painting.

Step 6: Paint your first coat

Repainting kitchen cabinets gives it a new look | Source: iStock

The best way to apply new paint evenly is by doing multiple layers of thin coats rather than one thick layer. This gives you a more even application and leads to a paint job that doesn’t easily chip.

To start with your first coat, you should apply it across the surface in even, parallel brush strokes to prevent drips and rough surfaces. Let the coat of wet paint dry, then sand it again and wipe with a tack cloth to remove any sanding dust before moving on to your next coat.

Step 7: Apply more coats

The second coat of your paint will make your drawer fronts pop. After your first one dries and is cleaned of any dust that could have settled, go in with another fresh coat that’s just as clean and even as the first one you did. Afterwards, repeat the drying and sanding process to prep for any further coats.

Usually, two coats are enough for a perfectly adequate paint job, but a third coat can make your cabinets’ colours more vivid and prolong the life of your freshly painted cabinets. Just note that it’s very time-consuming to keep on applying layers. Once you’re happy with the colour, let the cabinets dry fully, which can take overnight.

Step 8: Paint all the pieces properly

Cover all bases for a seamless finish | Source: iStock

Make sure your paint is applied well, and coat your cabinets completely. While the drawer fronts and cabinet doors are the most important parts as they are the ones people see first, it’s also good to paint the sides and the back of your kitchen cabinets as they get seen when in use. Put a thin paint coating on them and watch your paint finish feel slightly more elevated.

Step 9: Dry and put the drawers back

Once you’ve finished painting your kitchen cabinets, you need to let them dry completely. Afterwards, remove all the tape from your cabinet doors and drawers and remove dust from all the surfaces. Reattach all the different hardware pieces, like the hinges and the knobs.

Carefully put back each drawer and cabinet door. Even if your paint is fully dry, fresh paint still gets chipped easily, so you need a delicate hand to avoid bumping the pieces on any kitchen counters.

What to use: a paint roller or a paintbrush?

As you paint kitchen cabinets, you might be wondering if you should be using a paint roller or a paintbrush. Both tools have their advantages and disadvantages, and in fact, you might need to use a combination of the two for your newly painted kitchen cabinets to look their best.

Paint rollers cover a big area with each stroke. The most common type of roller is a manual roller, and it’s the one that’s available in all hardware stores. Use this tool to cover the cabinet doors’ flat sides. It leaves clean and even coats very quickly, so having a roller in your toolbox can make your project much quicker. You might also need unique rollers for special kinds of paint, like latex paint.

Paintbrushes help you apply paint on more embellished kitchen cabinet doors. If your cabinets and drawers have intricate details and non-detachable knobs, you will need to paint around these places with a precise paintbrush. Brushes also work best with oil-based paint, a common paint for kitchen cabinets.

There’s a third option that’s less common but highly effective: paint sprayer. You get the coverage of a paint roller while also being able to paint precisely like a brush. However, kitchen cupboard spray paint and paint sprayers are expensive and require practice to use, so if it’s your first time doing a big painting kitchen renovation project, you might want to hold back on spray painting kitchen cabinets and leave it to the pros. 

Make painting kitchen cabinets much easier

Kitchen cabinets take up much of the visual space of your kitchen, so painting them is a great way to brighten up and add colour to a vital part of your home! With a tack cloth, a paintbrush and paint of your choice, you can create beautiful cupboards with minimum effort all in one weekend. Whether you choose to paint or spray kitchen cabinets, just make sure you’re tidy and apply the paint in clean and even coats to guarantee your success.

If you’re pressed for time and can’t commit a weekend or a whole week for this kitchen beautification project, or if you just don’t have confidence in your painting skills, then it might be time to ask help from a professional house painter. Equipped with everything they need to turn any kitchen into a beautiful space, interior house painters can bring new life to your kitchen cabinets!


FAQs on painting kitchen cupboards

Can I just paint over my kitchen cabinets?

It’s more complicated than simply buying paint. There are a few things to consider before painting over your old fixtures. If it was sealed with any wax, as some painted cabinets are, you must remove it before painting. If your cabinets were painted with oil-based paint, then water-based paint won’t adhere to it, and vice versa. Also, if the finish of the paint isn’t intact anymore, you’ll need to sand your cabinets before applying paint over them.

Do I have to sand the cabinets before painting?

If you’re repainting your cabinetry, you should sand before starting the process. Over time, the cabinets can get small nicks that can be annoying to deal with while painting. Sanding can smooth the surface for a better paint application.

Is it better to brush paint or spray paint kitchen cabinets?

Brushing paint and spraying paint aren’t too different in terms of results, but they differ when you’re applying the pain. Brushing takes a lot of time, but it’s also a more precise and easy way to get paint onto your cabinet doors. Spray paint takes a deft hand and more skill, so it’s not recommended for paint novices. 
Categories
Kitchen

Types of kitchen splashbacks and how to maintain them

Key Takeaways:
Kitchen splashbacks are essential for protecting walls from moisture, grease, and food splatters while enhancing kitchen aesthetics and potentially contributing to property value.
From ceramic tiles and glass panels to stone slabs and timber options, each material offers distinct benefits for various kitchen styles and maintenance requirements.

A study showed that kitchen renovations were Australian homeowners’ number one home improvement project. Yet, many overlook one of the most crucial design decisions that can make or break the entire space: kitchen splashbacks. Splashbacks don’t just protect walls from cooking chaos; they can also transform a bland kitchen into a stunning centrepiece or, if chosen poorly, undermine even the most expensive makeover.

There are different types of kitchen splashbacks for every need and homeowner personality. This guide explores the most sought-after splashback materials among Australian homeowners, their unique properties, and the care routines that will maintain their beauty and performance for decades.

Understanding kitchen splashbacks and their benefits

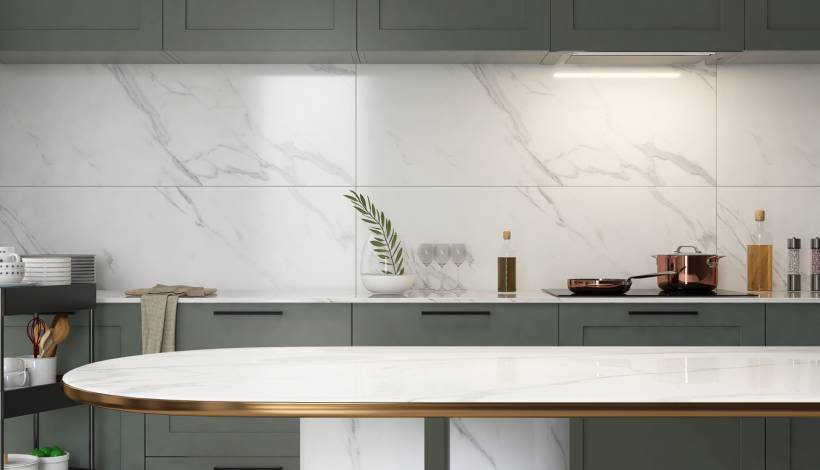
A modern kitchen with marble-effect splashback tiles. | Source: iStock

A kitchen splashback is a protective surface that goes behind cooking and prep areas and sinks, where walls face regular exposure to moisture, heat, and food particles. Beyond their primary protective function, different types of splashbacks for kitchens deliver various advantages:

Hygiene

Splashbacks provide surfaces that are easier to sanitise than painted walls, reducing bacterial growth and maintaining kitchen cleanliness standards. Their non-porous nature prevents the absorption of cooking odours and contaminants. 

Aesthetics

You can choose from various splashback designs to give your kitchen visual depth. Recent trends favour earthy tones and natural textures, with materials such as stone and timber finishes bringing warmth and character to kitchen environments. 

Property value

With the right and fitting splashback for your home, it can enhance your home’s market appeal and contribute significantly to returns from kitchen renovations. Quality installations show attention to detail and long-term thinking that appeals to prospective buyers.

What are the different kitchen splashback materials in Australia?

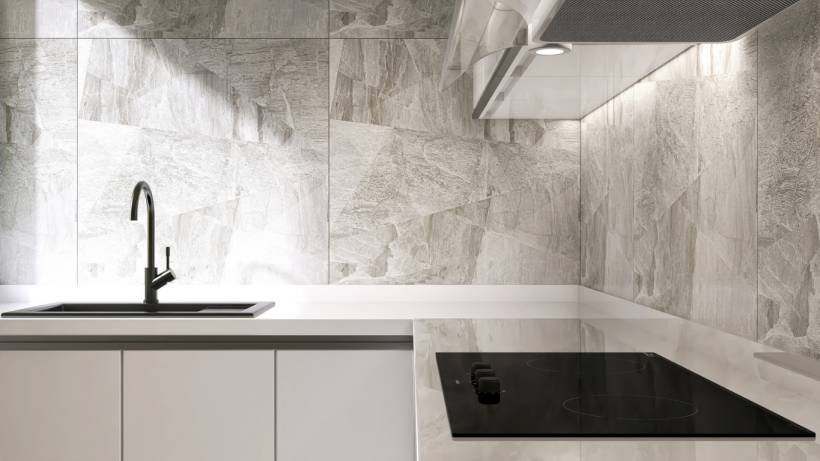
A contemporary kitchen countertop with an integrated induction cooktop and a minimalist design. - types of kitchen splashbacks
A sleek kitchen featuring a stone-look backsplash and countertop. | Source: iStock

Australian kitchens showcase several types of kitchen splashbacks based on material. Each type offers distinct characteristics suited to different cooking styles, maintenance preferences, and design themes.

Ceramic and porcelain tiles

Ceramic and porcelain kitchen tiles remain popular among Australian homeowners due to their versatility and practical benefits. These tiles offer affordability, straightforward installation, and a range of classic, appealing options. Of these two, porcelain has higher water resistance, which makes it even better for particularly humid kitchens.

  • Features: Both materials are highly durable, but porcelain offers superior resistance to water absorption and thermal shock. The wide variety of colours, patterns, and sizes means you can achieve any design, from understated neutrals to bold, dramatic pieces. Large-format tiles are also effective for creating clean, elegant lines with less grout.
  • Finishes/Options: Ceramic and porcelain splashbacks come in high-gloss, matte, textured, or stone-look surfaces. Glossy tiles reflect light and brighten a space, while matte and textured finishes offer a softer, more tactile feel. Meanwhile, stone-look porcelain brings a luxe and natural appeal while still being durable. There are also mosaic options in various finishes and sizes that give a sleek, low-maintenance look.
  • Best for: Homeowners seeking cost-effective solutions with extensive design flexibility. Tiles look great for both traditional kitchen designs, like a Hampton-style kitchen and contemporary designs.
Pros:
Cost-effective–ceramic tiles range from $20–30/m², while porcelain tiles are around $70/m²
Easy to replace individual tiles if damaged
Good heat resistance
Simple to clean using standard household cleaners
Cons:
Grout lines can stain and need periodic retouching
Requires more upkeep than seamless surfaces (e.g. glass, stone)
Complex patterns or irregular layouts increase installation difficulty

Glass splashbacks

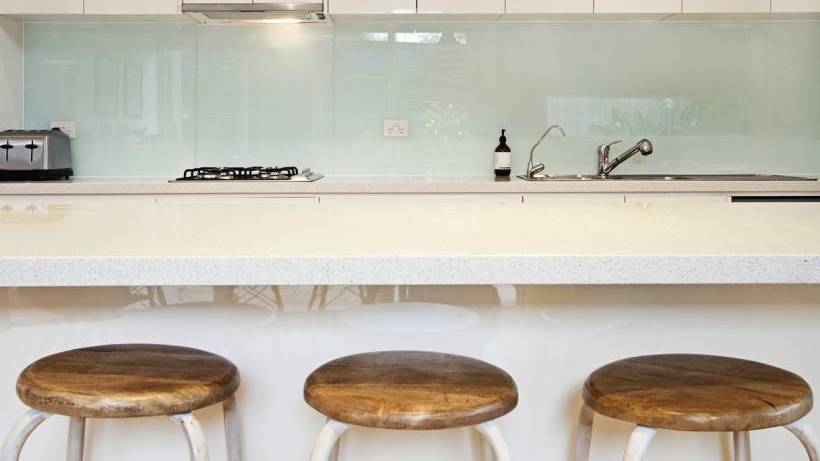
A contemporary kitchen featuring a smooth glass splashback that reflects light and provides a clean backdrop. - kitchen splashback types
The sleek and minimalist design of a glass splashback. | Source: iStock

Glass is one of the most common types of splashbacks for kitchens in Australia, especially those using tempered glass for improved safety and durability. They deliver sleek, reflective surfaces that suit modern kitchens and are easy to maintain. 

  • Features: Tempered glass is three to five times stronger than regular glass, providing excellent durability and heat resistance. Their non-porous surface prevents water absorption, eliminating concerns about cracking, swelling, or staining.
  • Finishes/Options: Available in numerous colours, including bold blues, vibrant greens, and sophisticated neutrals, with options for clear, bronze, or smoked finishes. Custom colour matching allows coordination with existing design elements.
  • Best for: Contemporary kitchens that prioritise minimal maintenance over pattern variety. It’s also suitable for smaller kitchens where light reflection creates spacious illusions.
Pros:
Quick wipe-downs remove grease, splatters, and fingerprints with ease
Superior durability with minimal maintenance
Excellent light reflection that can make small kitchens appear larger
Cons:
Higher initial costs from $30 to $120 per square metre (excluding installation)
Extended installation timeframes and professional installation requirements for measurement, fabrication, and fitting
Highly polished finishes may also create glare issues in bright spaces

Stainless steel splashbacks

Stainless steel applications in residential kitchens create looks that feel both innovative and classic, ranging from standalone installations to comprehensive coverage across entire spaces. This material brings commercial kitchen durability to a residential setting.

  • Features: Outstanding heat resistance and hygienic properties make stainless steel ideal for active cooking areas. The material resists corrosion, staining, and bacterial growth while providing contemporary industrial aesthetics.
  • Finishes/Options: Available in brushed, polished, and textured finishes. Standard gauges provide adequate protection while heavier options offer enhanced durability for high-use situations.
  • Best for: Contemporary kitchen designs where functionality takes precedence over decorative elements. It’s particularly suitable for serious cooking enthusiasts who value commercial-grade performance.
Pros:
High durability, easy cleaning, and recyclability
Superior heat resistance compared to alternatives, making it ideal for gas cooktop applications
Generally costs less than premium glass or stone
Cons:
Prone to scratches, fingerprints, and watermarks, requiring careful cleaning techniques
Industrial appearance may not suit all design preferences and architecture

Acrylic splashbacks

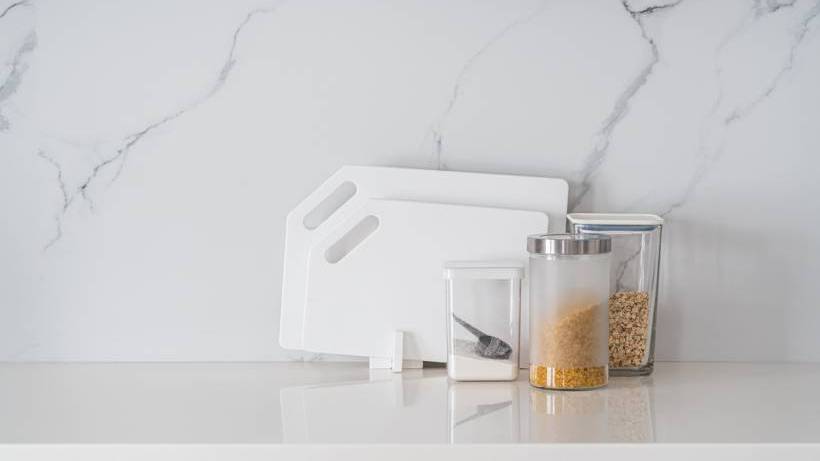
A clean, modern kitchen bench with a white marble-patterned acrylic splashback. - kitchen splashbacks type
Close-up view of a minimalist kitchen design. | Source: iStock

Acrylic splashbacks provide a glass-like appearance at reduced costs with simplified installation processes. For example, lustrolite is a popular high-gloss acrylic option that mimics glass while offering lightweight installation and superior stain resistance.

  • Features: Lightweight construction facilitates easier installation compared to glass while maintaining a similar visual appeal. Non-porous surfaces resist staining and moisture absorption effectively.
  • Finishes/Options: Available in extensive colour ranges with gloss and semi-gloss finishes. Custom colour matching accommodates specific design requirements.
  • Best for: Cost-conscious renovators seeking glass aesthetics without premium pricing. It’s suitable for DIY installations where professional glass fitting exceeds budget limitations.
Pros:
Significantly lower costs than glass with easier installation requirements
Less likely to break than glass due to its higher impact resistance
Can be suitable for DIY installation in some cases.
Cons
Susceptible to scratching, requiring careful cleaning with soft cloths and mild cleaners
Limited heat resistance compared to glass or stone alternatives—maintain appropriate distance from heat sources

Timber and plywood splashbacks

Wood-like materials add rustic appeal and tremendous warmth to kitchen spaces, with modern moisture-resistant tiles providing natural beauty on top of the durability you demand. Professional carpenters, however, advise that if you want to use natural timber, moisture resistance should be a top priority.

  • Features: Timber applications offer a minimal, warm look when applied across kitchen spaces, including cabinetry and flooring. Modern treatments enhance moisture resistance while preserving natural characteristics.
  • Finishes/Options: Natural timber offers various species with distinct grain patterns and colours. Engineered options provide enhanced stability and moisture resistance while maintaining authentic appearances.
  • Best for: Country-style and modern-country kitchen styles that emphasise natural materials and high-quality craftsmanship. This makes it suitable for homeowners prioritising warmth and organic textures.
Pros:
Unique natural beauty with potential for customisation through staining or finishing
Creates an inviting, warm atmosphere that complements various design styles
Resists moisture better than untreated timber while maintaining the same aesthetic
Cons:
Requires careful sealing and regular maintenance to prevent moisture damage
Limited heat resistance; appropriate distance from cooking surfaces is necessary

Stone splashbacks

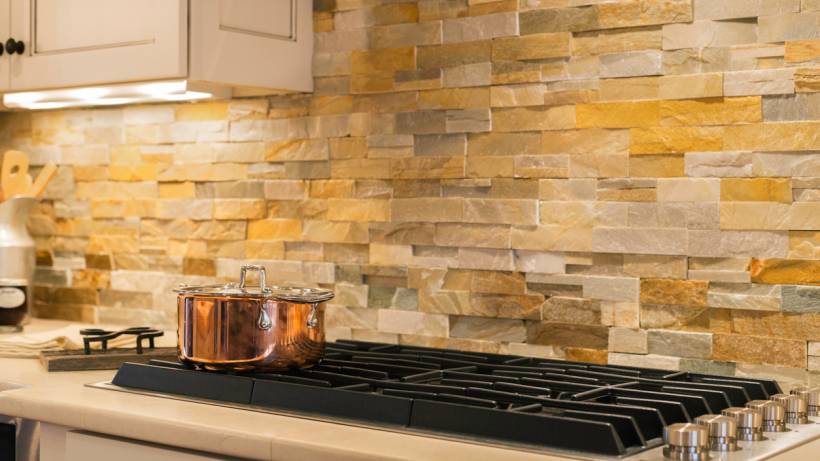
A kitchen with a rustic, stacked stone splashback creating a unique and natural texture behind the stove. - types of kitchen splashbacks
An elegant kitchen with a textured stone backsplash. | Source: iStock

Stone splashback materials represent premium choices for sophisticated kitchen designs and work particularly well in luxury kitchen renovations.

  • Features: Matching splashback and benchtop material combinations using stone create sophisticated, cohesive flows throughout kitchen spaces. Natural stone provides unique patterns while engineered options offer consistent appearances and enhanced durability.
  • Finishes/Options: Stone splashbacks, particularly granite, marble, and quartz, offer durability and luxurious appearances when matched with coordinating benchtops. Natural stones showcase individual characteristics with polished, honed, or textured finishes. 
  • Best for: Luxury kitchen installations where premium materials justify higher investments. Consult our benchtops cost guide for more detailed cost advice.
Pros:
Superior durability and easy maintenance with low porosity, preventing liquid and bacteria absorption
Exceptional heat and scratch resistance with long-term aesthetic preservation
Generally costs less than premium glass or stone
Cons:
Higher costs than most alternatives; professional installation for natural stone is significantly more expensive
Marble splashbacks are also soft and porous, making them susceptible to marking and staining. 

How do you maintain and clean your kitchen splashback?

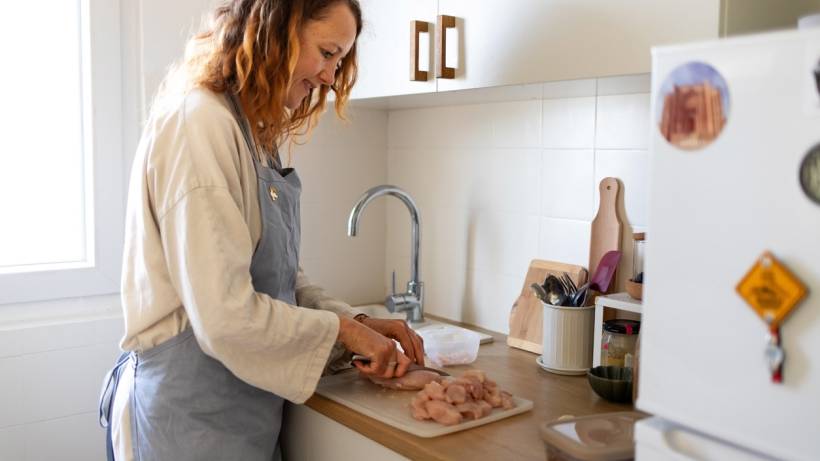
A woman is seen preparing a meal in her kitchen, dicing raw chicken on a chopping board. - kitchen splashback types
Preparing food in the kitchen. | Source: iStock

What type of splashback is best for the kitchen? The answer is the one that you can maintain. Like most things around a typical home, a splashback for the kitchen needs regular maintenance to extend its lifespan while preserving its appearance. While different materials require specific approaches, most principles apply across all installations.

Wipe spills right away

Removing spills and food splashes right away prevents permanent staining to splashbacks or grout. Developing a habit of cleaning spills as they occur maintains a splashback appearance with minimal effort.

Use appropriate cleaning materials

Your splashback material determines appropriate cleaning products, ranging from simple glass cleaners to specialised stainless steel solutions. When uncertain, water-diluted gentle dishwashing detergent provides safe cleaning for most materials. Regardless of your splashback type, avoid harsh or abrasive chemicals that can cause permanent damage.

Choose the correct cleaning tools

Using appropriate cleaning cloths maintains the splashback’s finish. Avoid abrasive options like metal or plastic scourers, which can damage or scratch surfaces. Instead, opt for lint-free cloths or paper towels to clean marks and spills. Then, after cleaning, it’s best to wipe over surfaces with a dry, clean cloth.

Clean according to cooking frequency

Heavy cooking requires daily splashback cleaning to prevent grease buildup, while weekly thorough cleaning suits moderate cooking patterns. Adjust cleaning frequency based on your cooking habits and splashback exposure.

Apply proper cleaning techniques

Use circular motions when cleaning glass surfaces to avoid streaking, rather than wiping up and down or left to right. Remember to let the cleaning solutions sit for several minutes before wiping to soften stubborn residues.

Maintain sealing and water protection

Sealing splashbacks protects them from water damage regardless of material type. Stone splashbacks require resealing every few years, while tile splashbacks need grout resealing periodically. Make sure to check the integrity of silicone borders that help maintain water impermeability, as these may need replacement over time.

How do you fix common splashback problems?

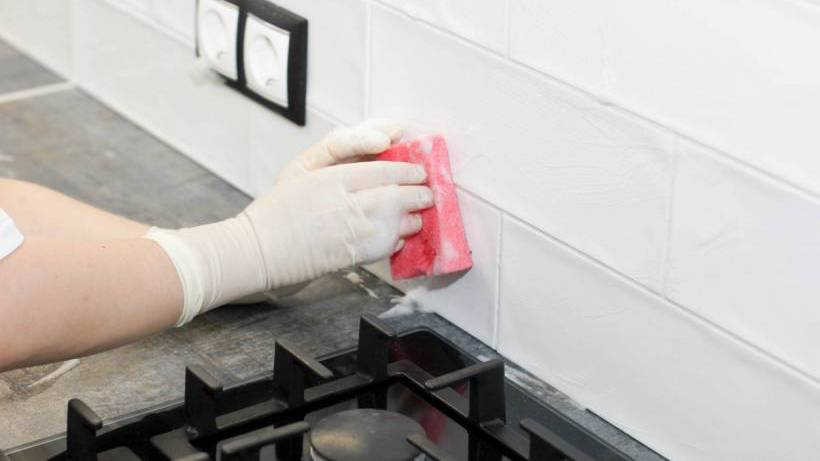
A person wearing white gloves cleans a white tiled kitchen splashback with a pink sponge. - types of kitchen splashbacks
Cleaning kitchen splashback tiles. | Source: iStock

Most modern kitchen splashbacks encounter issues during their lifetime. Fortunately, they can be resolved with proper knowledge and a little elbow grease.

Grout discolouration or mould growth

  • For light discolouration: Mix equal parts water and white vinegar in a spray bottle. Spray affected areas, let sit for several minutes, then scrub gently with an old toothbrush. Rinse well.
  • For stubborn stains: Create a paste using baking soda, dish soap, and water. Apply to discoloured areas, allow adequate contact time, then scrub gently with a soft brush.
  • For mould growth: Use appropriate mould cleaning products following the manufacturer’s instructions and ensure good ventilation. However, consider a professional assessment if mould persists, as this may indicate moisture penetration issues.

Surface scratches

  • Glass splashbacks: Minor scratches sometimes improve with appropriate polishing compounds applied with soft cloths in circular motions. On the other hand, deep scratches may need professional assessment to determine if repair is more cost-effective than replacement.
  • Acrylic surfaces: Light scratches may respond to gentle polishing with appropriate products designed for acrylic surfaces. 
  • Stainless steel: Buff minor scratches following the grain direction using appropriate stainless steel care products and microfibre cloths. Unlike glass, avoid circular motions when polishing stainless steel surfaces, which can worsen the appearance.

Surface stains

  • Oil and grease stains: Apply baking soda paste to stained areas, allow adequate contact time, then remove gently with a soft cloth.
  • Hard water marks: Mix equal parts white vinegar and water, apply to marks, wait several minutes, then wipe clean. For persistent marks, lemon juice provides natural acidity.
  • Food stains: Address them right away with a dish soap solution. For set stains, check the manufacturer’s recommendations for appropriate cleaning methods.

Chips/cracks

  • Ceramic/porcelain tiles: Small chips can often be concealed with colour-matched repair compounds available from tile suppliers. Clean the area, apply according to manufacturer’s instructions, and allow adequate curing time before cleaning.
  • Glass splashbacks: Any crack compromises structural integrity. Stop using the area right away and contact professionals for assessment. Temporary measures may prevent the issue from worsening until a professional can inspect the problem.
  • Stone surfaces: Minor chips may be repairable with suitable products, though professional assessment often provides the best guidance for matching patterns and achieving proper finishes.

Choose the right kitchen splashback for your home

Strike a balance between your preferences, commitment to maintenance, and budget. In addition, how often you cook matters, as premium materials like natural stone offer beauty and durability but demand higher maintenance and a greater upfront investment.

Connect with trusted kitchen renovation experts who can guide you through material selection, design planning, and professional installation to create the kitchen of your dreams. For comprehensive pricing information, explore our detailed kitchen renovation costs guide to help budget your project effectively.


FAQs on kitchen splashbacks

Can I put a new splashback over old tiles?

Installing splashbacks over existing tiles is possible in many situations, provided the current surface remains firmly attached and level. The additional thickness may require adjustments to electrical outlets and trim pieces. A professional assessment will help ensure proper adhesion and long-term stability.

When planning installation, consider what’s included in quotes, warranty coverage, and whether building inspection compliance documentation is required. For electrical modifications, work with qualified electricians to ensure safe compliance with Australian standards.

How high should a kitchen splashback be in Australia?

Standard Australian practice installs splashbacks at 600mm above benchtop surfaces for electric and induction cooktops, though newer rangehood manuals often recommend 650mm regardless of cooktop type.

Note that areas behind gas cooktops require specific clearance considerations due to safety regulations outlined in Australian Standard AS/NZS 5601.1. For gas cooktop installations or modifications, consult a licensed plumber who understands these compliance requirements.

What is the most durable splashback material for a busy kitchen?

Quartz and porcelain offer exceptional durability with heat, stain, and scratch resistance, making them ideal for active cooking environments. Both materials provide easy maintenance while withstanding heavy daily use without compromising appearance. For comprehensive durability comparisons, explore our kitchen benchtop materials guide.

What’s the difference between ceramic and porcelain splashback tiles?

Porcelain tiles absorb less water than ceramic alternatives, making them more suitable for high-moisture kitchen environments. Porcelain also demonstrates superior durability and stain resistance, though ceramic tiles offer broader design variety at lower costs.

Do stone splashbacks need to be sealed in Australia?

Natural stone splashbacks require periodic sealing every two to three years to maintain protection against moisture damage and staining. Engineered stone alternatives often require less frequent sealing due to their dense structure and consistent composition.